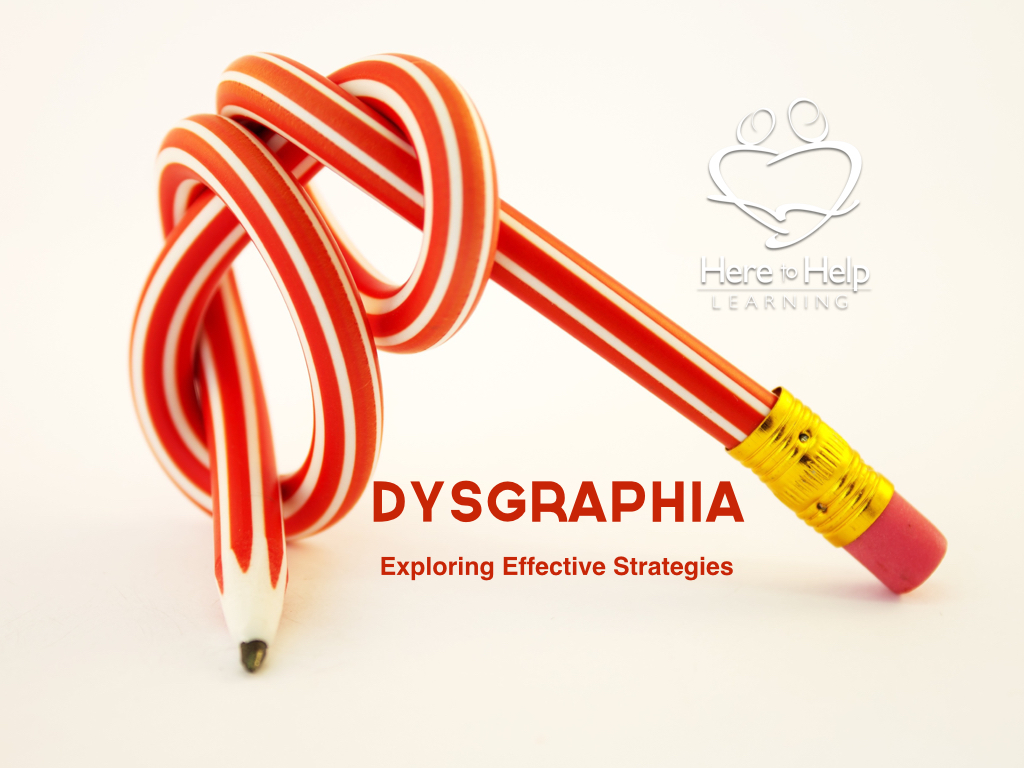
Dysgraphia is a learning disability that affects handwriting and fine motor skills. Forming letters is labored and difficult for these students. Parents and teachers often wonder, how can I help?
Here is my immediate disclosure: I am not a doctor or learning disability specialist. My background is a Certified Rehabilitation Registered Nurse Specialist. To put my expertise in a nutshell, I am trained to maximize a patient’s ability to function.
Dysgraphia can be a real downer for the student, and equally heartbreaking for the parent home educator trying to assist. Dysgraphia will often be associated with dyslexia and ADHD. However, recent brain imaging research shows a distinct difference in these learning disabilities, and each disability must employ different teaching strategies. In this post, I will focus on teaching strategies for students with dysgraphia.
Having a child with dysgraphia is challenging. I know. I have one and have taught many. The delayed ability to form letters does not indicate a lack of intelligence. As an educator, I found I must balance remedial instruction with grade-appropriate challenges. I also needed to recognize the physical challenges and spend time strengthening my student’s fine motor skills and core muscles. There are a lot of helpful strategies and things you can do to help. Let’s begin by addressing the physical issues that surround dysgraphia.
Strengthen Fine Motor Skills
Fine motor skills are required to write legibly. For whatever reason, students with dysgraphia trail behind in their fine motor skills. Fine motor skills involve any activity that uses the “pincer grip” or pressing the thumb and forefinger together.
What can you do to help? Provide hand-strengthening exercises such as squeezing a rubber ball, playing with clay, or climbing a rope. Encourage any activity where the child has to grasp firmly an object such as sewing, lego building, coloring, beading, modeling clay, or even stirring cake batter. Schedule regular intervals throughout the day and have your child perform different fine motor exercises. Set a timer to remind yourself to follow through. The OT Mom Learning Activities has a wealth of activity suggestions to strengthen the hands and fingers. Make a schedule for these different activities. Ask your child to help design the routine and be open to changing the routine frequently.

Strengthen Core Muscles
Homeschool speaker and author, Carol Barnier, tells a funny tale of her “sizzler” falling out of his chair and how common this bizarre calamity is among children who have learning challenges. I remember one of my children falling out of their chair. I have had students fall out of their chairs. What is happening? Earthquakes? I don’t think so. The rehab nurse in me quickly realized that a child falling out of a chair has to do with poor, or in the case of some kids, immature core muscle development. Core muscles enable you to have good posture. Interestingly enough, we are seeing more “falling out of chairs” in children without learning disabilities because kids are spending more time in front of a computer screen and less time building forts or playing outdoors. However, with children who have a learning disability, it seems to be a common trait due to slower muscle development. When posture is wobbly, written words are wobbly too.
What can you do to help? Daily physical education is a must! Because students with dysgraphia tend to lag behind in core muscle development, involving them in activities that strengthen their core muscles is important. Gymnastics, dance, soccer, or other sports can help. The solution does not have to cost a lot of money. One of my homeschool friends installed several chin-up bars in the house. The dad commented, “My boys need to move their large muscles as much as possible.” How wise! Running a mile every day or simply biking for a half hour can make a difference in all areas of learning. I was impressed with one mom’s solution. She gave her son stilts and assigned him to circle the house every couple of hours! Whatever activity you choose, build a daily routine where your child’s large muscles are on the move!

Choose a Handwriting Curriculum with a Multi-Sensory Approach
I never found a multi-sensory handwriting program until after my kids were grown. Handwriting Without Tears gets my vote. I have seen this program in action with my co-op students and I am impressed with the results, especially with my students that have profound dysgraphia. As you know, I am a big fan of a multi-sensory approach to any learning and this product delivers.
What if my child is in junior high or high school?
You might want to consider a class in calligraphy. It reviews basic handwriting positions and letter formation but doesn’t feel babyish for the older student.
Stick with Writing Paper That Has Large Lines
Students with dysgraphia are often moved too quickly to smaller lined paper. Smaller lined paper increases frustration. If they can’t write neatly in the larger spaced lines, how will they write legibly in smaller lines? I know there can be a stigma, especially with older children using larger lined paper. However, that is one of the beautiful things about homeschooling. No one has to see it. Your student can progress at their own pace without the pressure to perform beyond their ability. There are so many different styles of lined paper. One of Here to Help Learning’s membership benefits is access to a library of printable writing paper.Experiment to find the lined paper style that gives your student letter formation success.
Use the Hand-Over-Hand Method
Sometimes a student will get stuck in the way a letter is formed. Gently place your hand over the student’s hand to correct. This method can help a student properly “feel” the letter being formed. Keep a close watch how your student is forming letters and correct patiently and immediately.

Use a Handwriting Generator
One of the positive suggestions I have received over the years has been to use the connect the dot system or to trace properly formed letters. This is especially important when the student is still learning to form letters. Years past, I would painstakingly write the words or sentences so my student could trace them or copy them. Now with fantastic programs like the handwriting generator, I can type in the words, and it prints out a beautiful traceable paper. You can also make your own copy worksheets as well as transform your student’s dictation into a handwriting practice worksheet. For older students, this is a wonderful way to create grade-appropriate handwriting worksheets that aren’t like the ones found in the early grades. Oh to be homeschooling in the technology generation! What a blessing!
Use a Pencil Grip for Proper Placement of Fingers
Because of poor fine motor and gross motor deficiencies, the student with dysgraphia often develops ways to hold a pencil that compensates for the lack of fine muscle control. Unfortunately, the way a child holds a pencil becomes a hard habit to break. If I had to go back and do it all again, I would have used pencil grips for all my kids. It would have cut down on my constant reminders. There are many styles and textures of pencil grips. They are pretty inexpensive, so my suggestion is to buy a few styles and allow your child to find which one they prefer.
Use an Old Fashion Fountain Pen
Students with dysgraphia also have problems with letter formation because of the inability to evenly apply pressure to the writing instrument either pen or pencil while forming letters. When you use a fountain pen correctly, the writer must apply even pressure. If even pressure is not applied, the writer will see a big splotch or blob of ink. This inkblot gives your student important feedback. Plus, I haven’t found a kiddo yet who doesn’t think it’s a cool writing instrument. You might assign your student to do his copy work with a fountain pen. You can pick up an old fashion fountain pen at any office supply store.
Teach Keyboarding Early
I balance handwriting with early keyboarding. I save some writing assignments for handwriting, and for other assignments, I encourage the student to use a keyboard. There are easy-to-use keyboarding programs that are very inexpensive and do a fine job teaching typing skills. I set a goal of 60 WPM for my children. However, the rehab nurse in me did not allow me to give up teaching the essential skill of handwriting. Although it took my student with dysgraphia a longer time to become proficient, it was worth it. The trick is to watch carefully for signs of frustration. Know when you can stretch your child and when you need to back off and take a break.
Visit Here to Help Learning’s Pinterest Board for helpful handwriting and typing resources
Break the Assignment Into Smaller Pieces and Keep Practicing
I think this suggestion may be harder to follow for us homeschooling moms than for our children. If the one-year handwriting curriculum takes two years, let it. If the handwriting curriculum needs to be repeated, repeat it. If the writing assignment needs to be broken into three lessons, do it. Pace with your child’s emerging ability. Don’t take summers off. Do a little each day, just a little. If your child required physical therapy to learn how to walk, you wouldn’t take the summer off.
Engage in the Writing Process
Please, let them engage in the writing process! Just because a student has a disability in the area of handwriting does not mean you should hold off teaching them to use the written word to communicate. Use adaptive devices such as a handheld recorder or word processor. Allow a student to dictate their story while you, the parent, transcribe their words into written form. Just like any other writing student, we home educators need to respect the normal growth and development of young writers. Let your student with dysgraphia taste the joy of writing. Here to Help Learning’s Writing Program effectively teaches children with varying skill levels and has been found an excellent fit for intelligent, creative students with dysgraphia.
Don’t Give Up!
Although we live in the technology age where handwriting is less frequently used, it is still an important skill. My background as a rehabilitation nurse working with spinal cord injury and brain trauma patients gave me a unique perspective on all types of disabilities. Regardless of the disability, the rehab team, including the patient, the nurses, the occupational therapist, the physical therapist, and the doctor, worked together until maximum functionality was achieved. One of the doctors I worked with is a paraplegic in a wheelchair. He would remind the team over and over, “Never give up.”

From his wheelchair he would push discouragement away with his catchphrase, “It may take years before we see the permanence of a disability.” I think his reminder is a good one. Our permanent job as home educators is to offer patience, encouragement, and search for keys that will unlock learning for our students with dysgraphia.
From Our Home to Yours,
First published: May 13, 2015
Updated: August 17, 2023


